Updating Virtual Appliance
Prior to updating your virtual appliance (VA):
-
Make sure that no jobs or repository maintenance tasks are running in the product.
-
Create a snapshot of the VA to revert to the previous version in case any failure occurs.
Follow the steps below to update your VA:
-
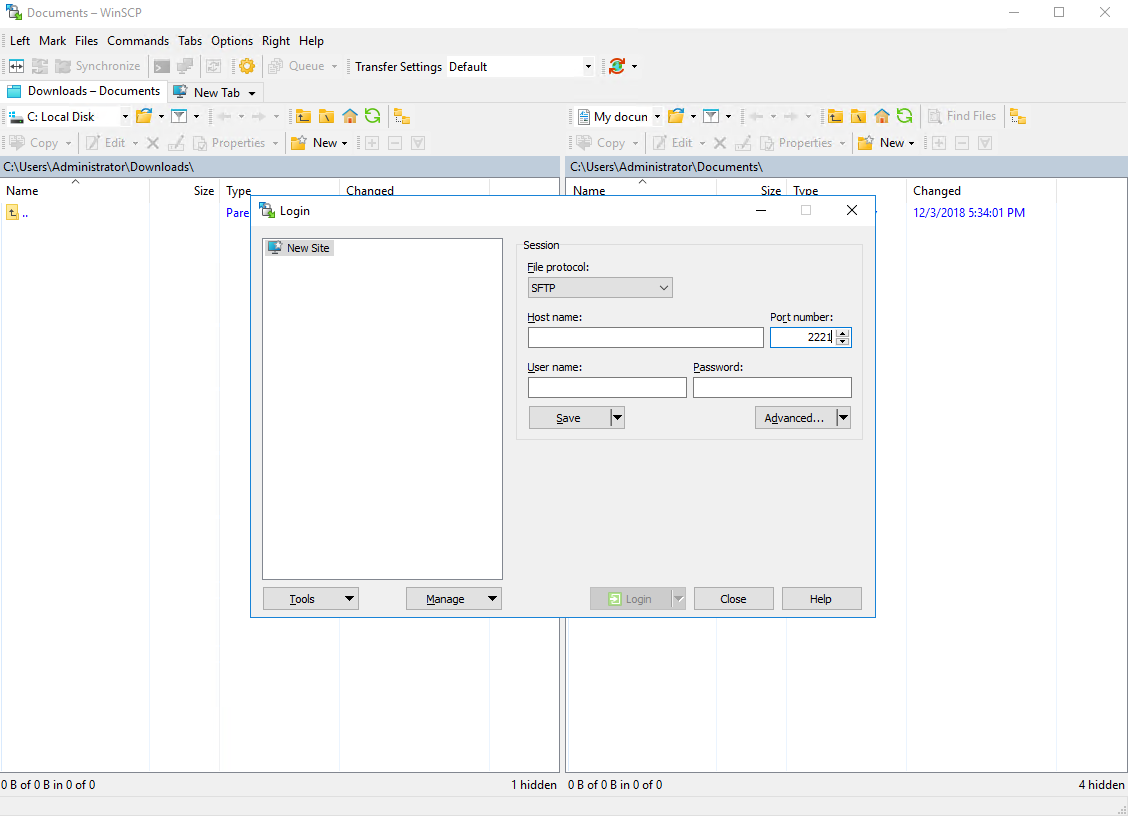
Using SSH client, log in to the VA that needs to be updated.
-
Download the latest VA and Linux updater from here.
-
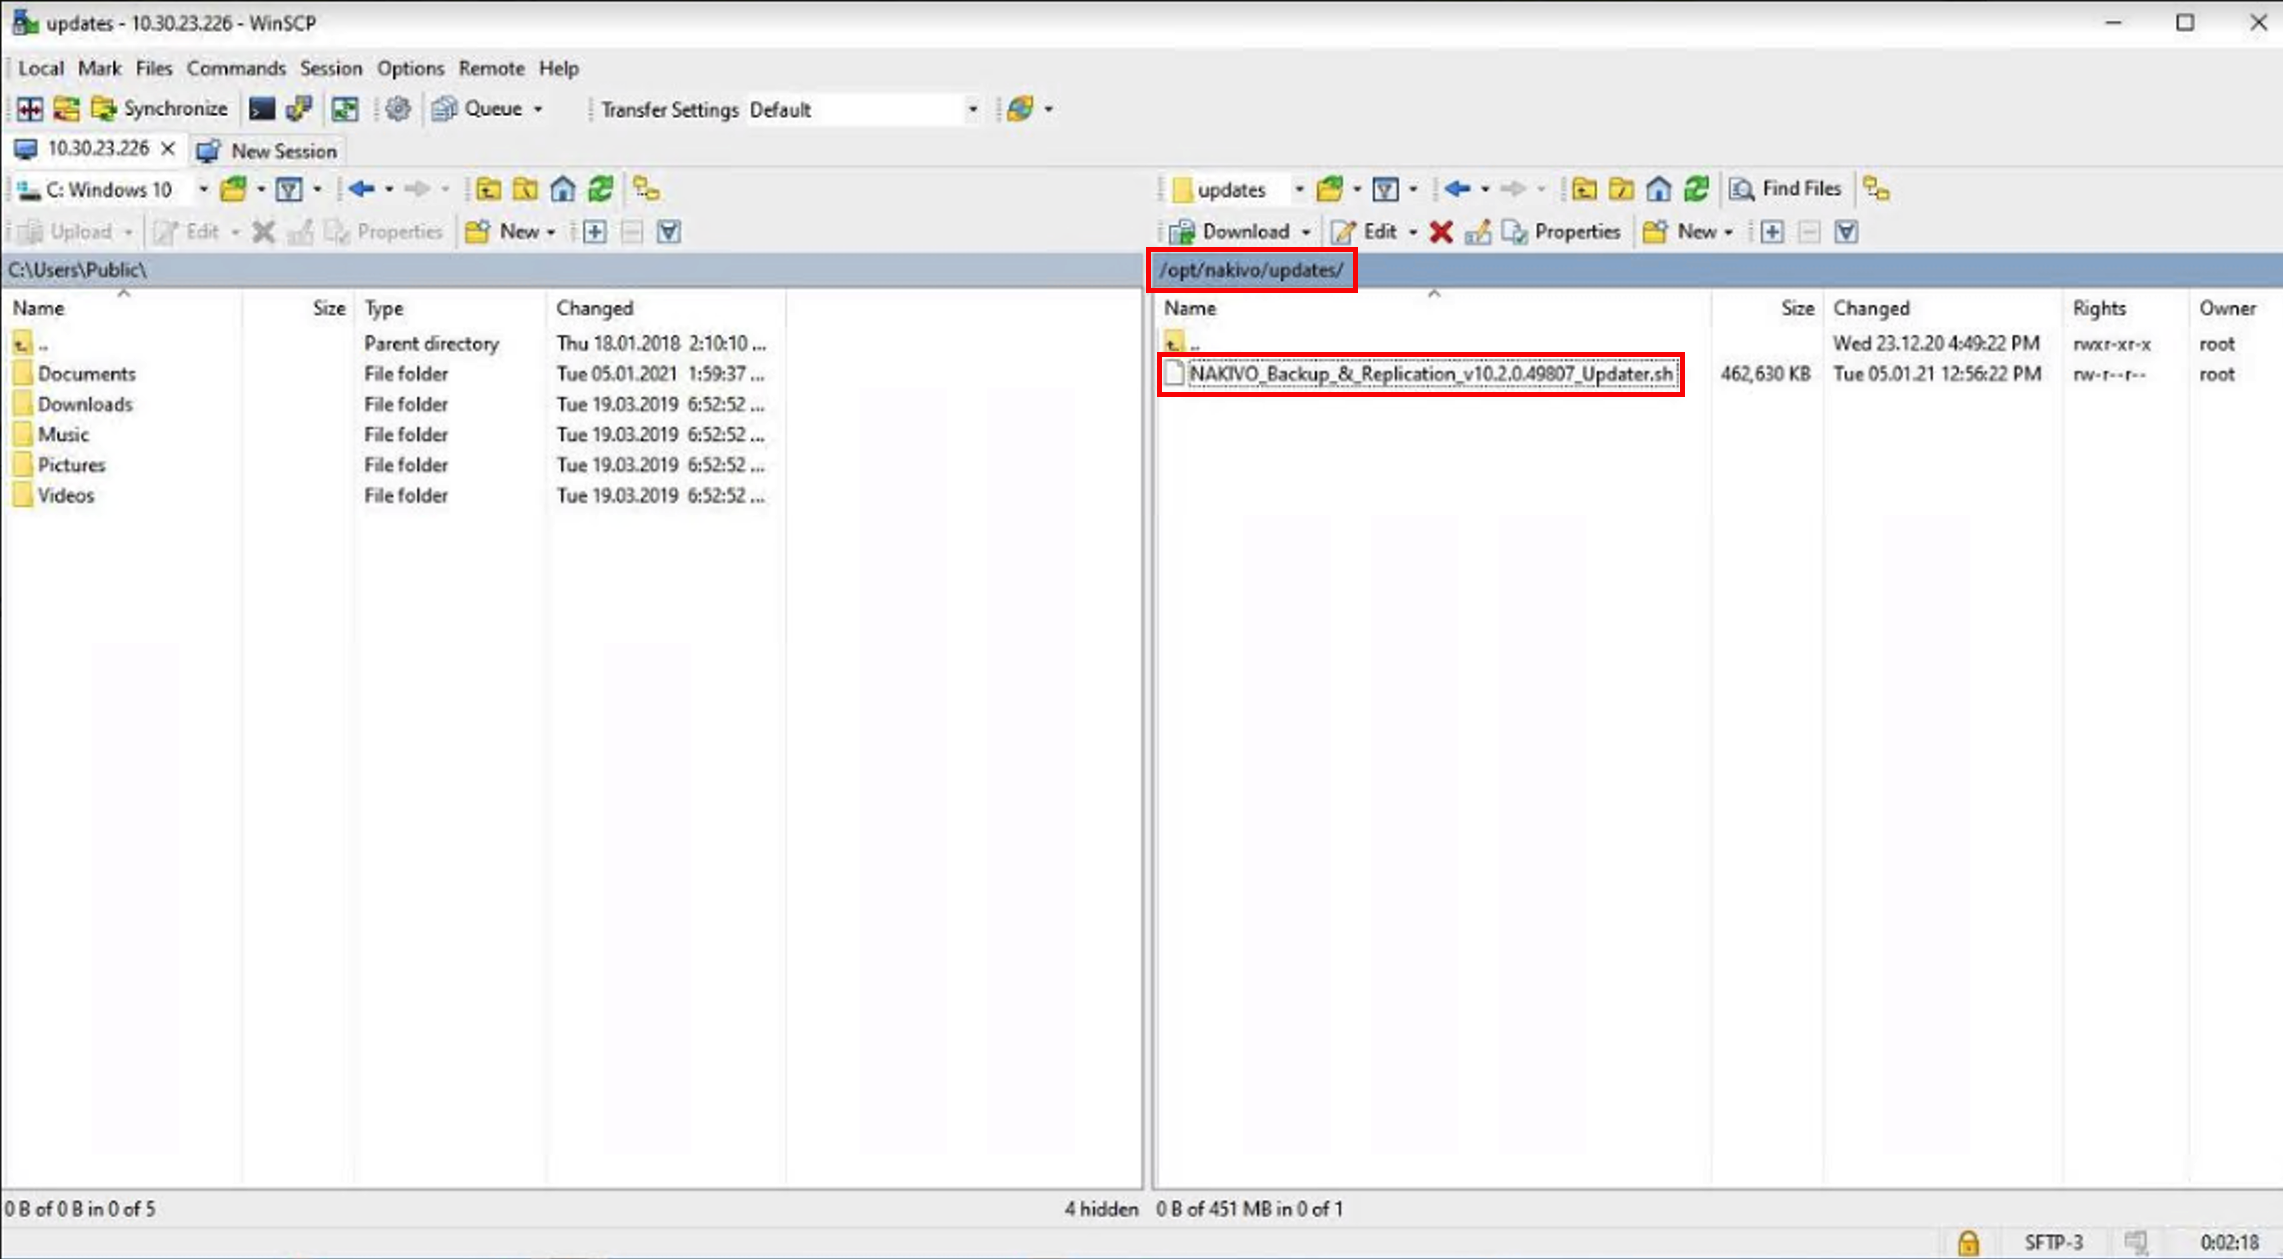
Change the directory to
/opt/nakivo/updatesand locate the updater. -
Log out from the SSH client.
-
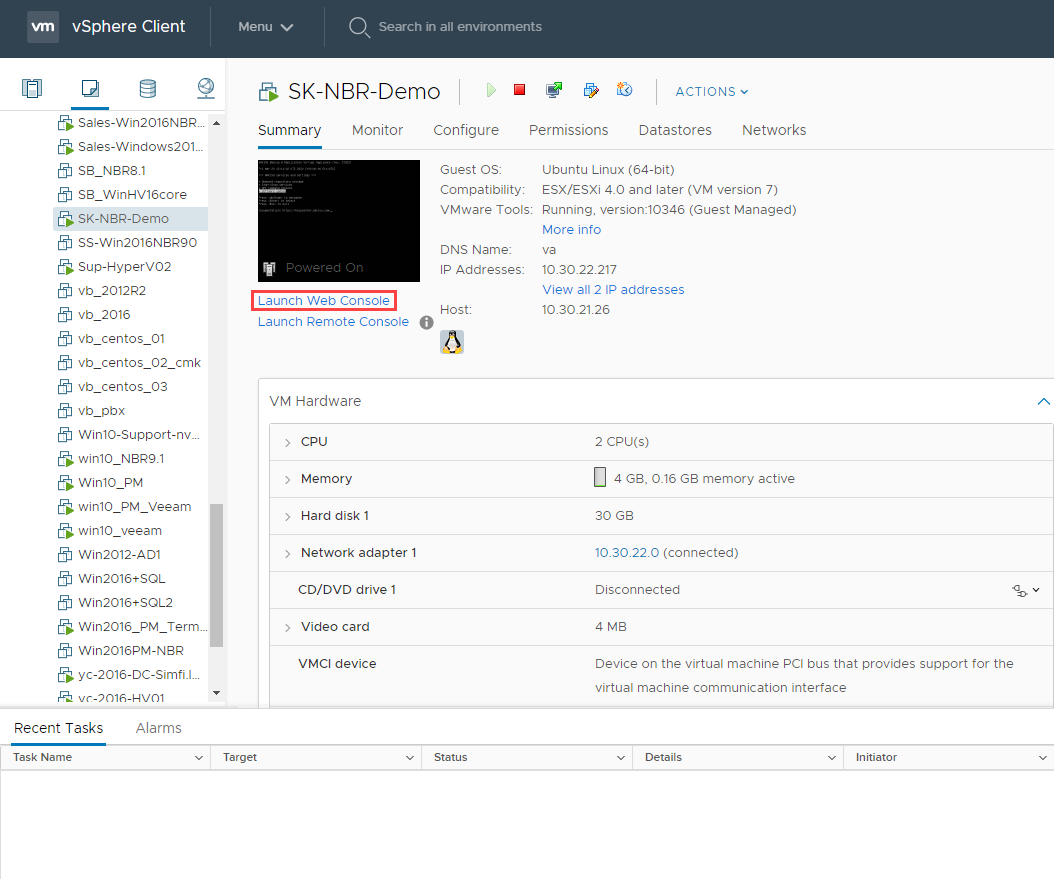
Log in to your vSphere client, navigate to your VA and click Launch Web Console.
-
Do one of the following depending on the NAKIVO Backup & Replication version you use:
-
For the product Version 8.1 and above:
-
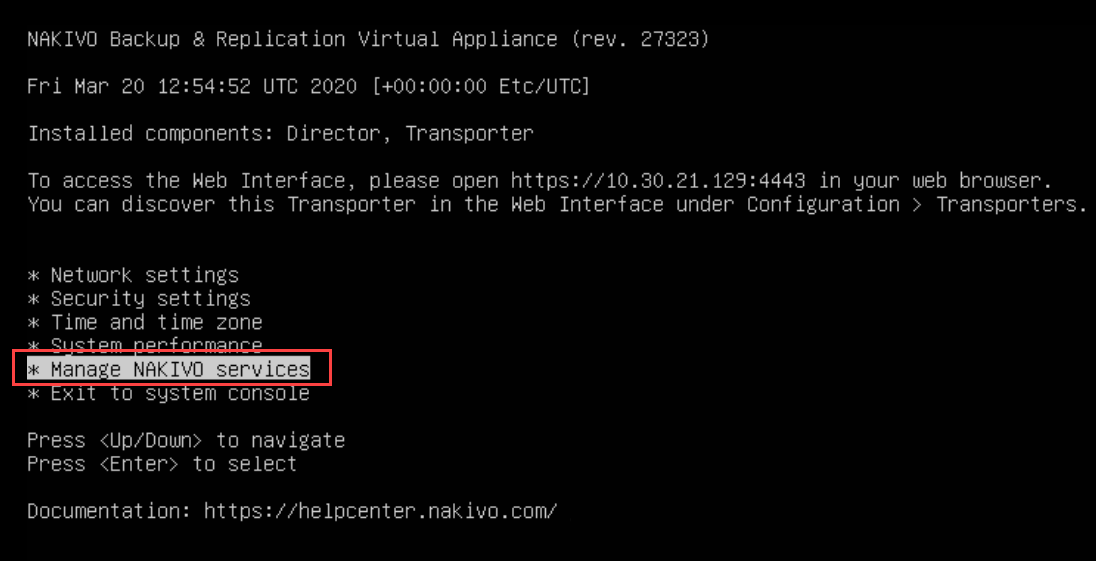
In the VA menu, select Manage NAKIVO services and press Enter.
-
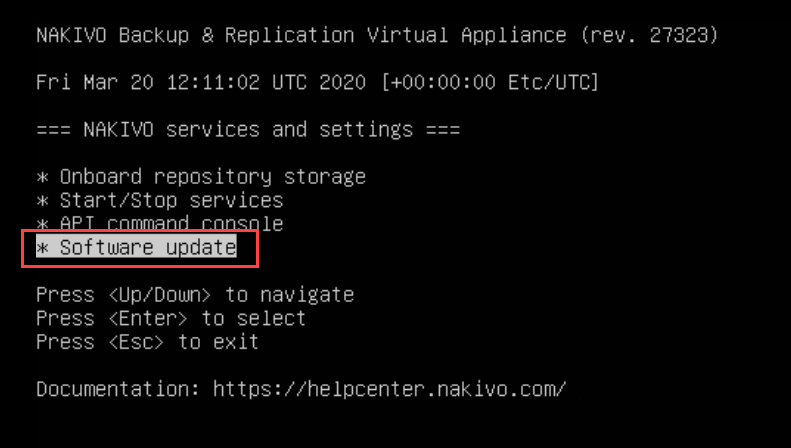
In the menu that opens, select Software update and press Enter.
-
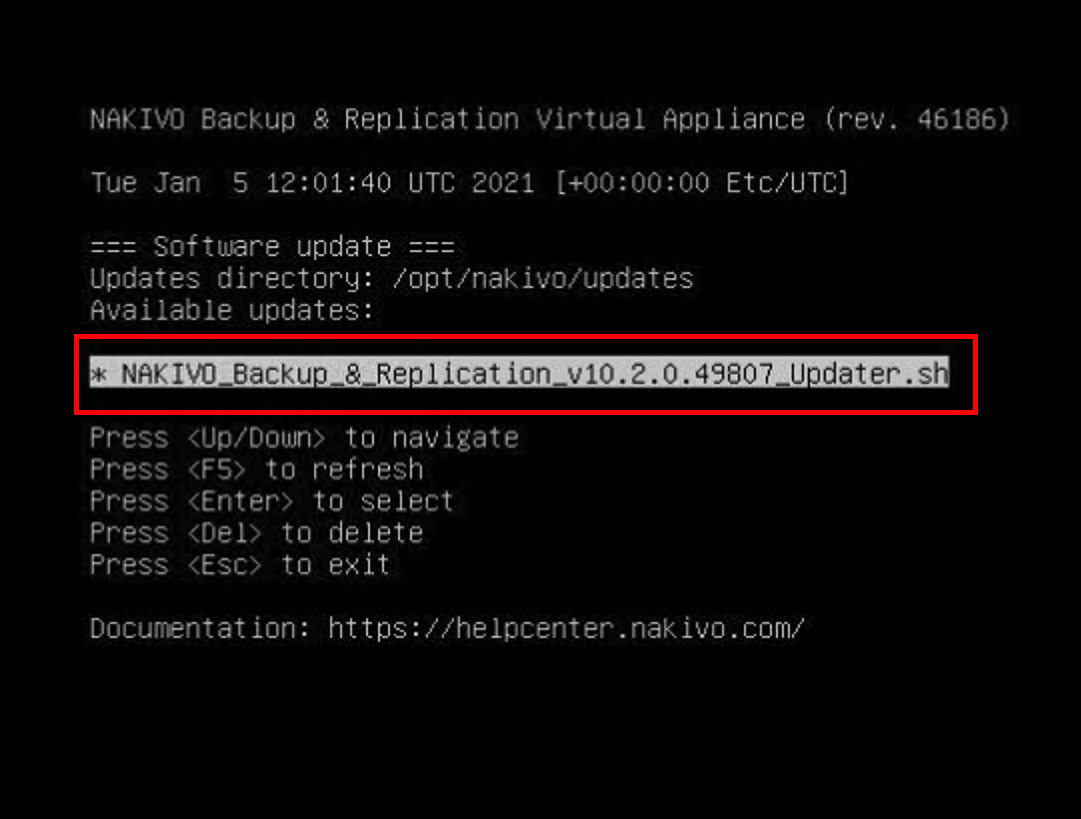
Select the updater that you have downloaded and press Enter.
-
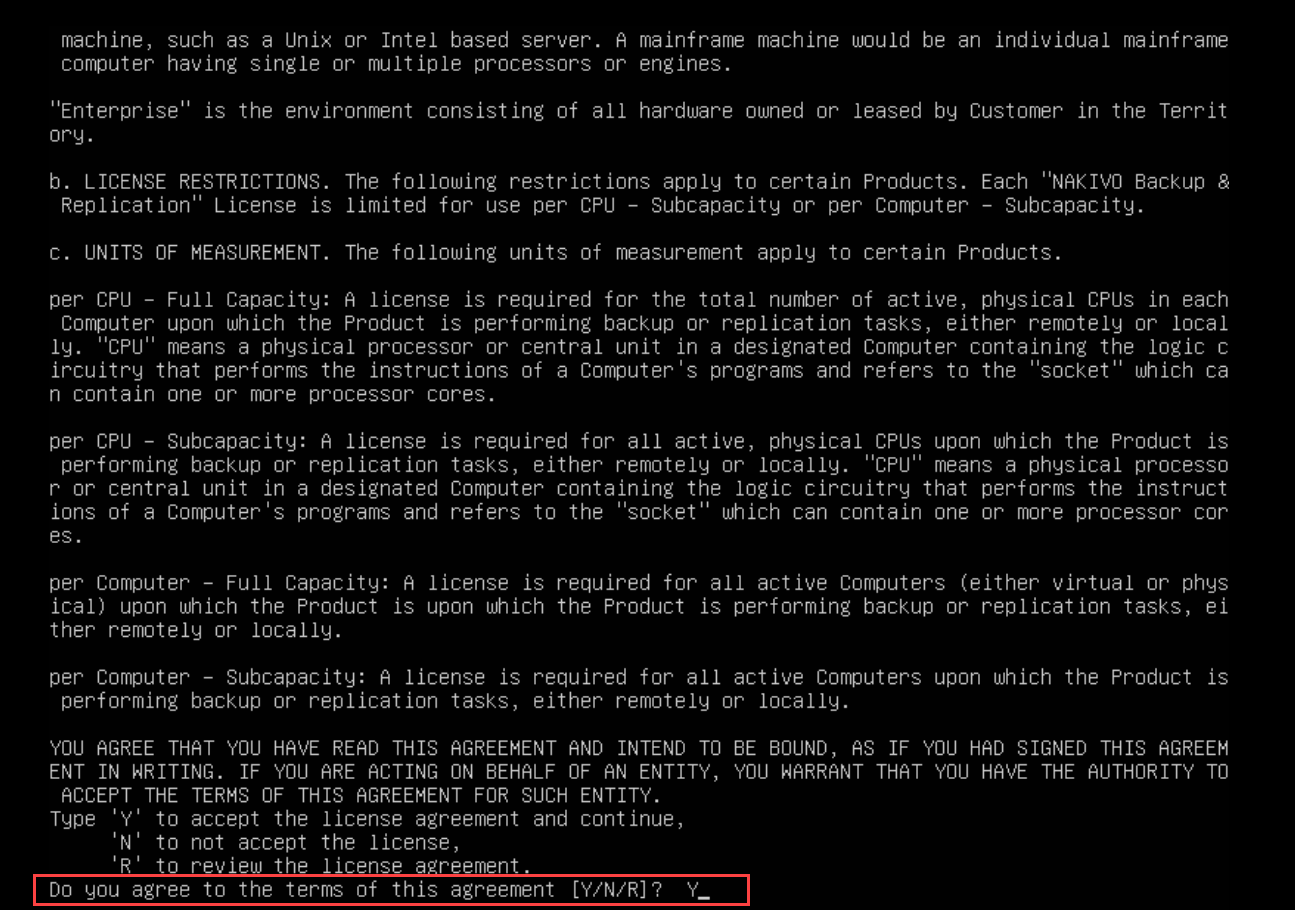
Review the End User License Agreement. Press Space to go to the bottom of it. If you agree to the terms of the agreement, type Y and then press Enter to begin the update process.
-
-
For earlier product versions:
-
In the VA menu, select Software update and press Enter.
-
Select the updater that you have downloaded and press Enter.
-
Review the End User License Agreement. Press Space to go to the bottom of it. If you agree to the terms of the agreement, type Y and then press Enter to begin the update process.
-
-
-
When the update process is complete, a message will appear to inform you about it. Exit the VA console.
-
Update all machines on which you have deployed an additional Transporter.
Note
Updating your VA with versions prior to the previous major version (for example, updating VA version 6.1 to version 9.0) is prohibited. Please update your VA to the next major version first.
